
AI Layer Decomposition: Split Images Into Layers
Turn any flat image into editable transparent layers with AI — background, subject, and each element as its own PNG. Here is how layer decomposition works and when to use it.
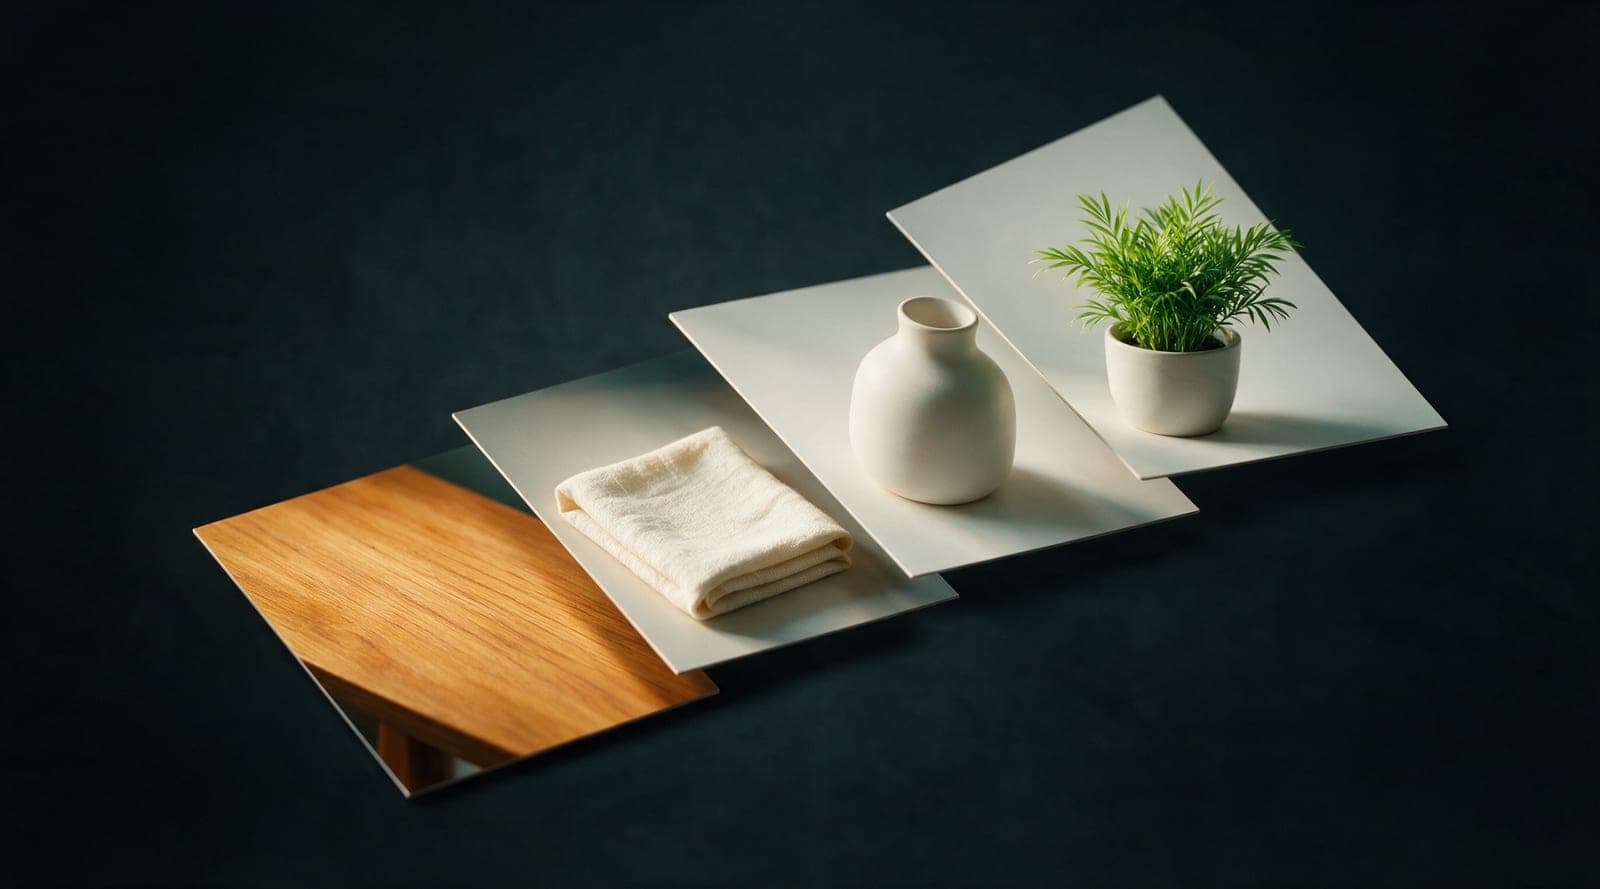
TL;DR
Layer decomposition is an AI task that takes one flat image and returns its parts as separate transparent PNGs — background, subject, and each distinct element. Unlike a selection tool, the model reconstructs what was hidden behind each layer, so cutouts come back clean. On Flixly it runs on Seedream 5.0 Pro at 1K, 1.5K, or 2K, and you are charged only for the layers it actually produces.
Most image editors ask you to cut a subject out by hand. Layer decomposition inverts that: you hand the model a finished image and it hands back the parts — background, subject, and each distinct element — as separate transparent PNGs you can move, replace, or restyle independently.
What layer decomposition actually does
Layer decomposition is an AI task that reads a flat image, works out which pixels belong to which visual element, and reconstructs each element as its own image layer. You get back the base image plus one PNG per layer it identified.
The important word is reconstructs. This is not a lasso tool with better edges. When the model lifts a product off a table, it has to invent the tabletop that was hidden behind it, infer where the shadow ends and the surface begins, and keep the product's edge intact including semi-transparent regions like glass, hair, and motion blur. That inpainting step is why a generative model does this better than a segmentation mask.
On Flixly this runs on Seedream 5.0 Pro, ByteDance's flagship image model, which brings its image-understanding stack to the separation step rather than treating it as pure edge detection.
What you get back
Upload one image and the tool returns:
- The base image — the flattened composition, in PNG or JPEG.
- One transparent PNG per layer — background, foreground subject, and individual elements such as text blocks, logos, props, or UI components.
The layer count is not something you set. The model decides based on how much separable structure it finds, so a clean product shot on seamless white might come back as two or three files, while a dense poster or infographic can split into six or more. In our launch test, a single image returned six files: the base plus five layers.
Every file lands in your history alongside the original, so you can come back a week later and pull a layer you skipped.
Where this beats cutting things out by hand
Product and e-commerce imagery
Take one hero shot and get the product on transparency, the background, and the shadow as separate assets. Swap the backdrop for a seasonal one, keep the shadow for realism, and you have five listings from one photograph. Pair it with the Background Generator or Product Mockup to rebuild the scene around the cutout.
Thumbnails and social creative
Separating the subject from the background is the whole job in a YouTube thumbnail. Split the image, scale the subject, drop a bolder background behind it, and add your text on top. The Thumbnail Generator and Social Media Posts tools take the layers straight from there.
Design handoff and rework
If you generated a poster or app screen with AI image generation and the client wants the headline moved, you would normally regenerate the whole thing and lose everything else. Decompose it instead and move the one layer. Same for a logo that needs its mark separated from its wordmark.
Animation prep
Parallax and 2.5D camera moves need depth-separated planes. Layers give you exactly that: push the background back, hold the subject forward, and feed the result to image-to-video.
How to use it on Flixly
- Open Layer Decomposition under AI Image Tools.
- Upload a PNG, JPEG, WebP, BMP, TIFF, or GIF (up to 30 MB).
- Pick a resolution: 1K, 1.5K, or 2K. Higher means more detail per layer and roughly double the cost at 2K.
- Choose whether the base image comes back as PNG or JPEG. Layers are always PNG, because they need an alpha channel.
- Hit Split into layers.
Results appear as a strip of thumbnails. Click any one to view it large, download a single layer, or take all of them at once. The layer thumbnails sit on a checkerboard, since transparent PNGs would otherwise look like blank tiles.
Steering which elements separate
The optional prompt field guides the split rather than describing an image. "Separate the text from the background" or "isolate the person and the chair separately" biases the model toward the breakdown you actually want. Leave it alone and it makes its own judgment, which is usually the sensible one.
What it costs
Layer decomposition is billed per output image, and the base image counts as one. Because the model decides the layer count, the price is not knowable before the job runs — so Flixly holds a ceiling up front and refunds the difference once the real count is known. You are only charged for layers that actually came back.
The cost is quoted before the job runs, and the same job at 2K lands near double the 1K price, since 2K bills at twice the per-layer rate.
| Tier | Detail per layer | Relative cost | Best for |
|---|---|---|---|
| 1K | Standard | 1x | Social, web, thumbnails, quick iteration |
| 1.5K | Higher | 1x | Print-adjacent work, larger crops |
| 2K | Highest | 2x | Print, large-format, heavy retouching downstream |
Start at 1K while you are still figuring out how an image splits. Move up once you know the breakdown is the one you want.
Getting better separations
- Give it structure to find. Images with clear depth and distinct elements split cleanly. A tightly cropped face on a flat gradient has little to separate.
- Resolution buys edge quality, not more layers. If you want a different breakdown, change the prompt, not the tier.
- Semi-transparent regions are the hard case. Glass, smoke, hair, and motion blur are where any separation model shows its seams. Check those edges first.
- Re-run with a prompt when the split is close but wrong. Naming the element you want isolated is faster than editing the result by hand.
- Keep the base image. It is your reference for recompositing, and it is already paid for.
Where it fits with the rest of your stack
Layer decomposition is a middle step, not an end point. The workflow that gets the most out of it looks like: generate or upload an image, split it, edit or replace individual layers with AI Photo Effects, then recomposite — or animate the separated planes. The other AI image tools handle the steps on either side.
Ready to take an image apart? Open Layer Decomposition and upload something with a few things going on in it — a product shot, a poster, an app screen. The first split tells you more about what the model can do than any description will.
Frequently Asked Questions
What is AI layer decomposition?▾
It is an image task that separates a finished image into its component parts and returns each one as its own transparent PNG. The model reconstructs the pixels hidden behind each element, so lifting a subject out leaves a complete background rather than a hole.
How is this different from removing the background?▾
Background removal gives you two things: the subject and nothing else. Layer decomposition gives you the background as a usable image too, plus separate layers for individual elements inside the composition. It is a full breakdown rather than a single cutout.
How many layers will I get?▾
The model decides based on how much separable structure the image contains, so the count varies per image rather than being something you set. A simple product shot may split into two or three files, while a dense poster can produce six or more.
Are the layers transparent?▾
Yes. Every separated layer comes back as a PNG with an alpha channel, so you can stack them in any editor without a white box behind them. Only the base image can optionally be JPEG.
What does layer decomposition cost?▾
It is billed per output image, with the base image counted as one. Flixly holds a ceiling amount when the job starts and refunds the unused portion once the real layer count is known, so you pay only for the layers actually produced.
What image formats and sizes can I upload?▾
PNG, JPEG, WebP, BMP, TIFF, and GIF are accepted, up to 30 MB per file. Output resolution is selectable at 1K, 1.5K, or 2K independently of your input size.
Can I control which elements get separated?▾
Yes, through the optional prompt field. Describing the breakdown you want, such as separating text from background or isolating two subjects individually, biases the model toward that split instead of its default judgment.